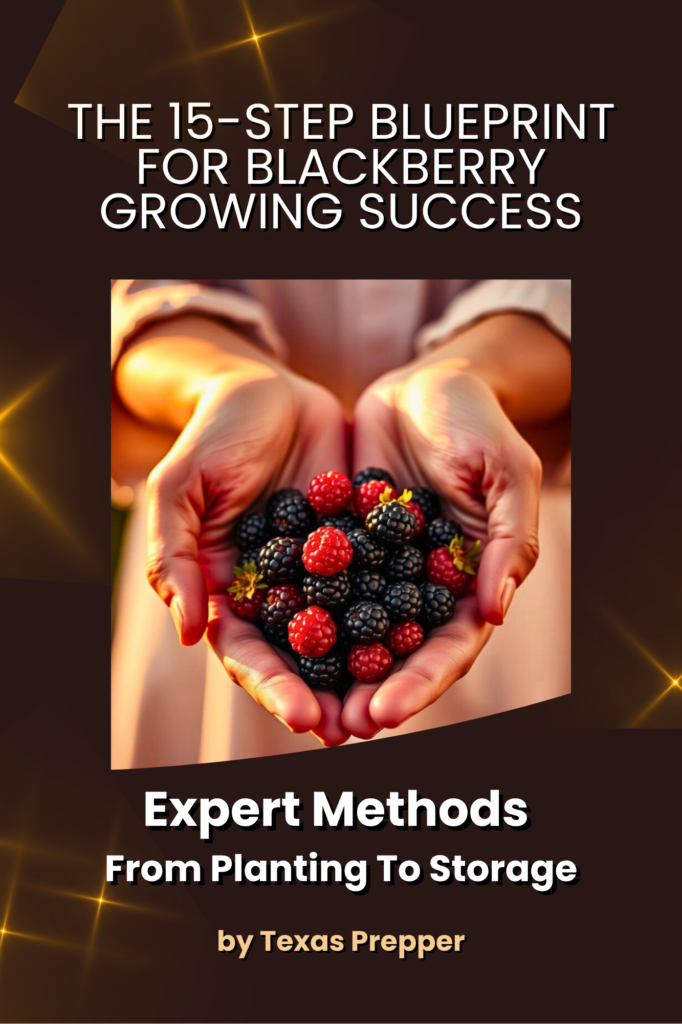
Container Gardening for Seniors — How I’m Growing More Food With Less Work
You walk outside expecting a mess of weeds, a bent back, and another battle with the soil — and instead, everything is just… growing. Tomatoes loaded with fruit, cucumbers climbing their cages, blackberries putting on berries like they’ve got something to prove. I’m a Senior and that’s what container gardening looks like at my place right now, and I want to walk you through how I’ve got it set up.

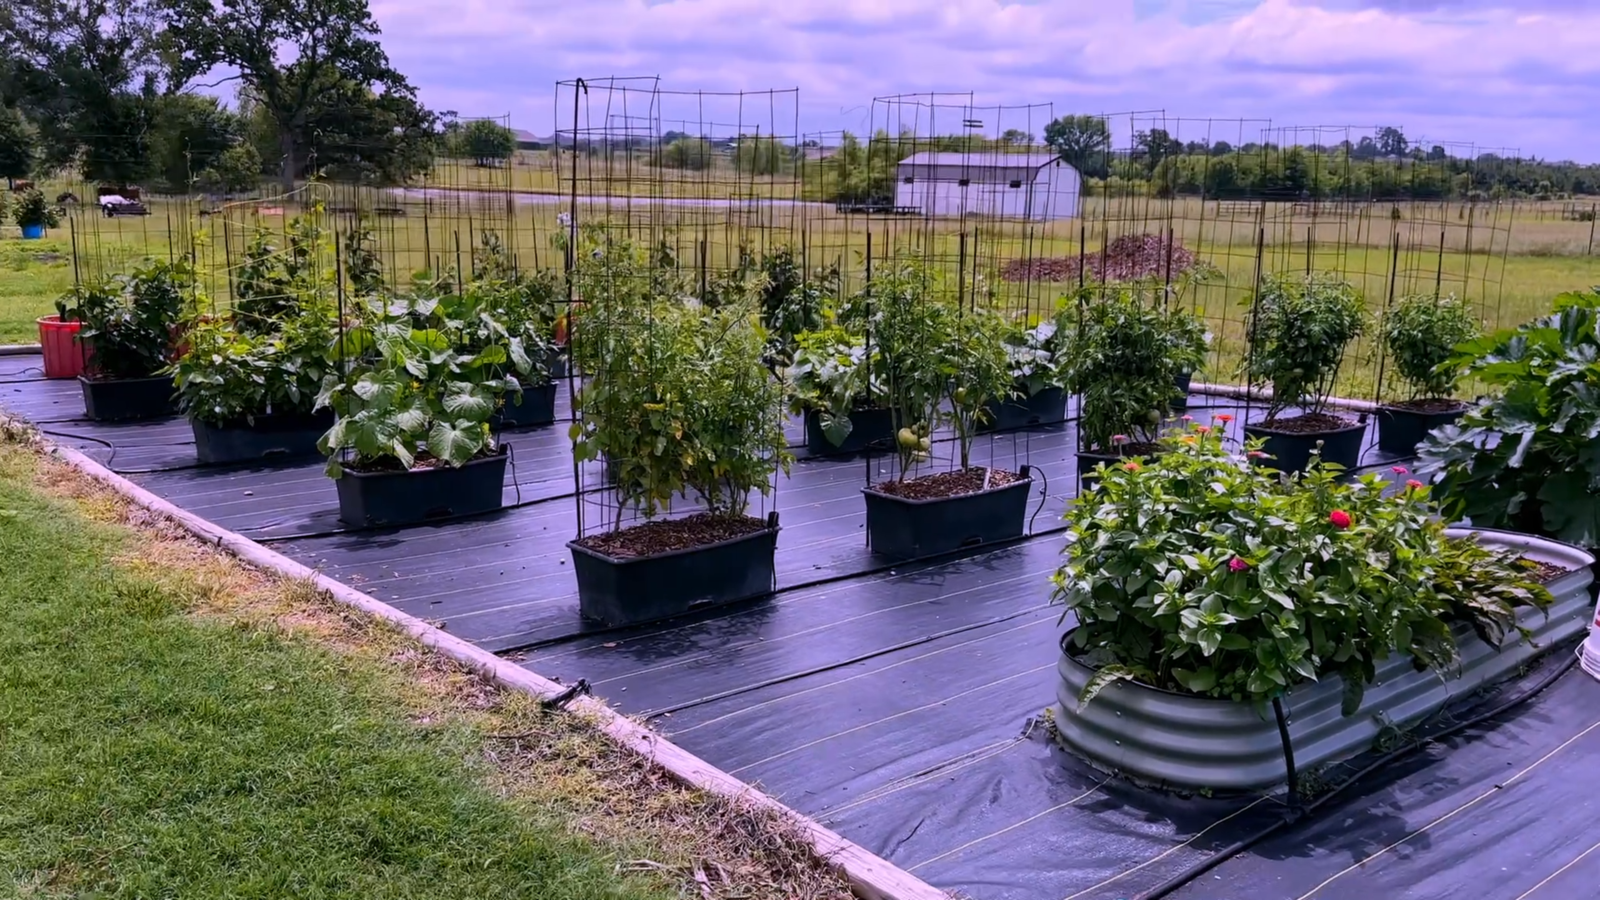
Here’s the short version: you don’t need a big in-ground garden to grow serious food. With the right containers, good soil, and a drip irrigation setup, you can grow tomatoes, cucumbers, peppers, onions, beans, squash, and even blackberries — in a setup that’s easier on your back, easier to manage, and frankly more productive than a lot of dirt gardens I’ve seen. I’ve got 22 EarthBoxes running right now, and the garden has never looked better.
Why Seniors Should Make The Switch to Containers
I’m not going to pretend I always did it this way. I gardened in the dirt for decades. Still do, a little. But I’m in my mid 70’s now, and the older I get, the harder traditional gardening gets — so, I decided a while back that I wasn’t going to let my garden go just because I’m a senior citizen, and my back doesn’t like to agree with me anymore.
A lot of people hear “container gardening” and think patio herbs and a few sad tomato plants in a bucket. That is not what I’m talking about. I’m talking about a real, productive, food-producing garden that just happens to be above ground.
Now, a lot of my setup uses EarthBoxes. I want to be upfront — I’m going to mention them more than once in this post, but this isn’t a commercial for them. I bought mine years ago (back when they were more reasonable in price), and I’ve just been using them long enough to know they work. You can do everything I’m describing with other containers — wicking tubs, fabric pots, whatever you’ve got. The principles are the same.
On a side note, all the vegetable seeds for my garden come from a place called Grow Hoss. These folks have the best, freshest seeds I’ve ever grown. Check them out HERE.
What I’m Growing Right Now
In my EarthBoxes I’ve currently got:
- Tomatoes — Sun Gold cherry tomatoes, Hossinator, Red Snapper, and Shelby (a Roma type that outlasted everything else in the summer heat last year)
- Cucumbers — three varieties: Mini Me, burpless, and Mercury. The Mercury is already climbing and putting on little cukes
- Peppers — bell peppers, cayenne, a heatless habanero I really like, and red Marconi
- Beans — Orient Wonder yard-long beans. These things will get two feet long or longer. You pick three of them, and you’ve got a side dish!
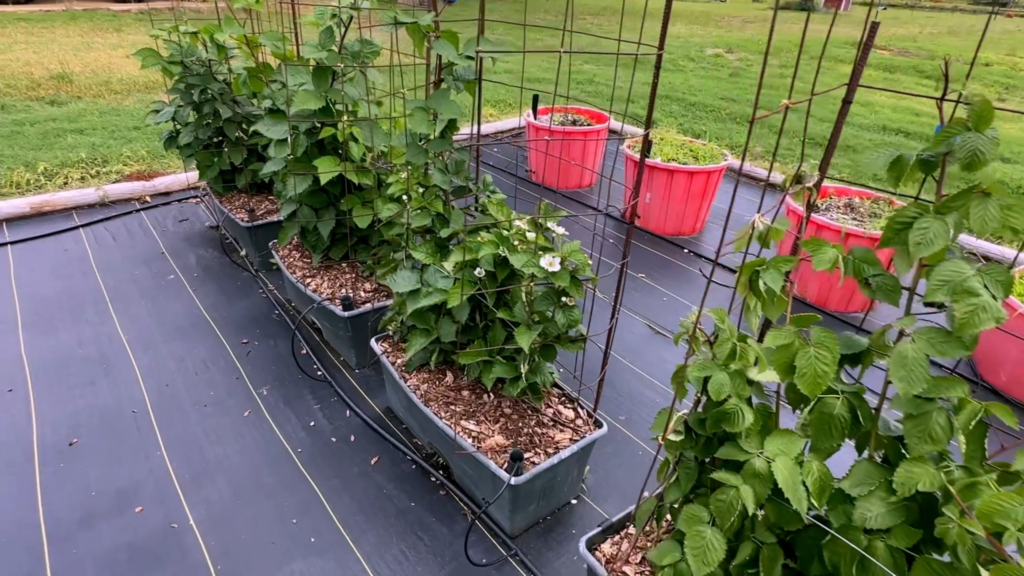
- Blackberries — brand new experiment this year, growing in EarthBoxes, and I’m already seeing berries on new primocanes that were just coming up a few weeks ago
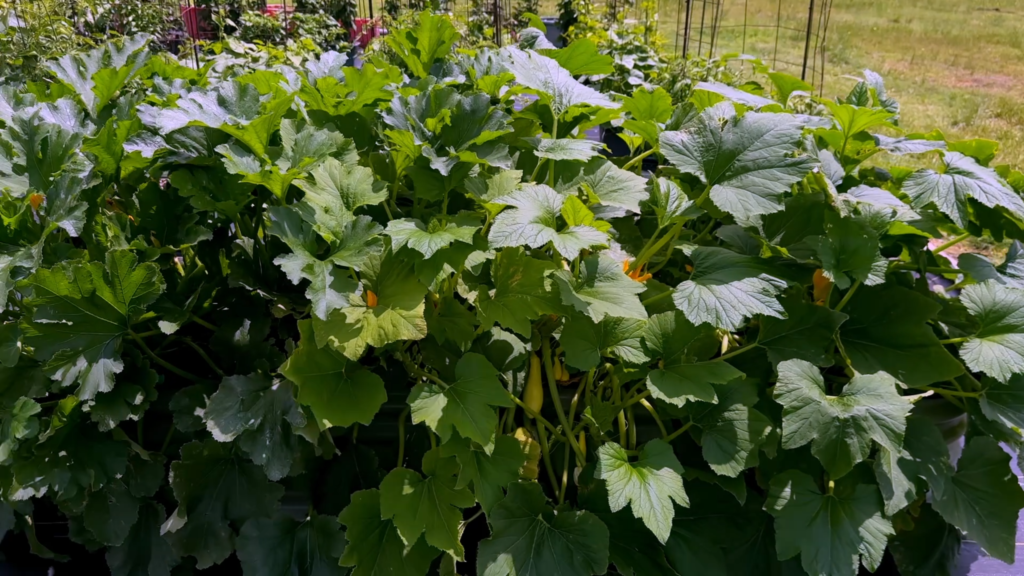
Out in my raised beds I’ve got onions doing really well — and some squash, zucchini, and flowers to pull in pollinators.
That’s a lot of food in a relatively small footprint. And most of it is at a comfortable working height.
The Setup That Makes It All Work
Here’s what holds the whole thing together for me:
Drip irrigation with a timer. This is non-negotiable if you want consistent results. I’ve got my EarthBoxes set up with standard drip irrigation lines feeding directly into the fill tube. Set it on an Orbit mechanical timer (I think I paid about $10-12 for mine — Orbit Mechanical Timer at Amazon (Amazon Affiliate Link)) and your containers get watered the same way every day whether you remember or not. Consistent moisture is everything in container growing.
Support cages. I use old concrete reinforcing wire, bent into a U or C shape, set right on top of the EarthBox. Drive a piece of 3/8″ rebar into the ground to stabilize it. It’s not pretty, but it works, and it holds up a loaded tomato plant or a cucumber vine climbing 4+ feet with no problem. I mark my plant varieties on strips cut from old plastic Venetian blinds, written in paint pen (not Sharpie — Sharpie fades). Cheap and it works.
Good soil from the start. I pre-fill my EarthBoxes with a good potting mix and follow the manufacturer’s recommendations on fertilizer. With containers, the soil is everything — you’re not relying on the natural soil profile underneath you. Get it right at the start and you’ll have a lot fewer problems.
Onions in Fiberglass Tubs — My Favorite Setup
This might be my single favorite part of the whole garden. I’ve got a row of individual fiberglass tubs — about 50 feet long — growing onions. I got these tubs from a business that was tossing them out, so mine were free, but you can find similar containers without spending a fortune.

I drilled holes in a 3/4″ PVC pipe running the length of the row — tiny holes, using a finish nail on a drill — and hooked it up to a pressure reducer, a filter, and a timer. It just squirts downward right at the base of the plants. Works like a dream.
I top-dressed with some 2-year-old chicken litter and hit them with ammonium sulfate a few weeks back. Right now I’m pulling 5-inch onions that are sweet as anything — no heat, no bite, just pure sweet onion flavor. If you want an onion with some fire to it, this probably isn’t your method. But I love them this way.
Check out this great article on how you can raise the best. biggest and sweetest onions you’ll ever grow… even in a raised bed!
The Blackberry Experiment
I want to address this one because I know a lot of you have been following my blackberry content. This year I decided to grow blackberries in EarthBoxes — one plant per box. I got them as 1-gallon starts back in late winter, maybe 16-18 inches tall. Now they’re close to 4 feet and already setting fruit.
These are primocanes, which means they’re the current-year canes — and even after a late freeze knocked out my first crop on the established plants, these new canes just kept coming and are already producing. That’s the beauty of primocane varieties.
My plan is to let them hit about 4 feet above the container rim, then tip them (pinch the very top growth off). That forces them to throw laterals, and that’s where most of your berry production comes from. I’m using the same wire cage setup I use for tomatoes to keep them from flopping over.
I’ve only had one plant in an EarthBox long-term before this experiment — it did great for a couple years before I gave it to a neighbor — so this is new territory at this scale. But so far, I’m real happy with what I’m seeing.
I’ve been growing blackberries in containers for about 6 years and they do fantastic. However, all my berries have been in a self-watering container called a “Wicking Tub”. This year, I’m branching out and putting my Prime Ark Freedom blackberries in EarthBoxes, mainly because these types of containers last so very long… like 20-25+ years!
If you want to know everything about raising blackberries from planting to harvest and beyond, I’ve written a book detailing my decades-long experience with blackberries, both in the ground (I had a U-Pick operation) and in containers. You can get your PDF copy HERE.
Bringing In Pollinators
One thing I’ve added this year that I’d encourage you to try: I planted a raised bed specifically with flowers — zinnias, marigolds, nasturtiums.
The idea is to pull in bees. After the freeze damage I had on my early blackberries, I was worried I’d lost pollination. Marigolds and nasturtiums are also supposed to repel squash vine borers — that nasty little wasp-looking thing that lays larvae and kills squash plants right at the base. I’ve used this trick before and noticed a difference, though I’ll be honest, I’m not 100% sure if it was the flowers or just moving the squash to a different spot.
We’ll find out this year.
A Note for Gardeners Outside of East Texas
I’m shooting all of this in East Texas in mid-May, and I’ve already got tomatoes starting to blush. If you’re in Tennessee, Georgia, Michigan, the UK, or anywhere else, you might be a few weeks behind me — and that’s fine. The setup I’m describing works anywhere. You’ll just be hitting your stride in June or even July if you’re in a colder climate. The principles don’t change.
One thing I would say for colder climates: containers actually give you more control. You can start them in a sheltered spot, bring them inside if a late frost hits, and move them to chase the sun. That’s a real advantage.
The Biggest Beginner Mistake in Container Gardening
Starting too big. I see it all the time — someone gets excited, buys 15 containers, fills them all up, and then can’t keep up with the watering, the fertilizing, the weeding. By July they’re burned out and the plants are suffering.
Start with 3-4 containers. Get good at those. Learn what your plants need. Then scale up next year when you’ve got the rhythm down. I’ve been at this a long time and I’m still dialing things in. There’s no shame in starting small — it’s the smart play.
I’ve got a full walkthrough video of this exact garden setup over HERE. And follow all my videos on the TexasPrepper2 channel — you can find it HERE. I walk through every section, show you the irrigation, the cages, the blackberries, the onions — all of it.
Container gardening changed the way I think about growing food. It’s more manageable, it’s easier on the body, and when you get it set up right, it flat-out produces. Give it a shot this season — you might be surprised what you can grow without ever putting a shovel in the dirt.
Happy gardening, y’all.
— Alan
You can find Vegega Garden Beds HERE. Use the code TP2 for 10% off!
TexasPrepper2.com is a participant in various affiliate programs including the Amazon Services LLC Associates Program. We earn commissions on qualifying purchases at no extra cost to you.